Single-Pass Stereo rendering
Single-Pass Stereo rendering is a feature for PC and Playstation 4 based VR apps. It renders both eye images at the same time into one packed Render Texture, meaning that the whole Scene is only rendered once, and CPU processing time is significantly reduced. Without this feature, Unity renders the Scene twice: first to render the left-eye image, and then again for the right-eye image.
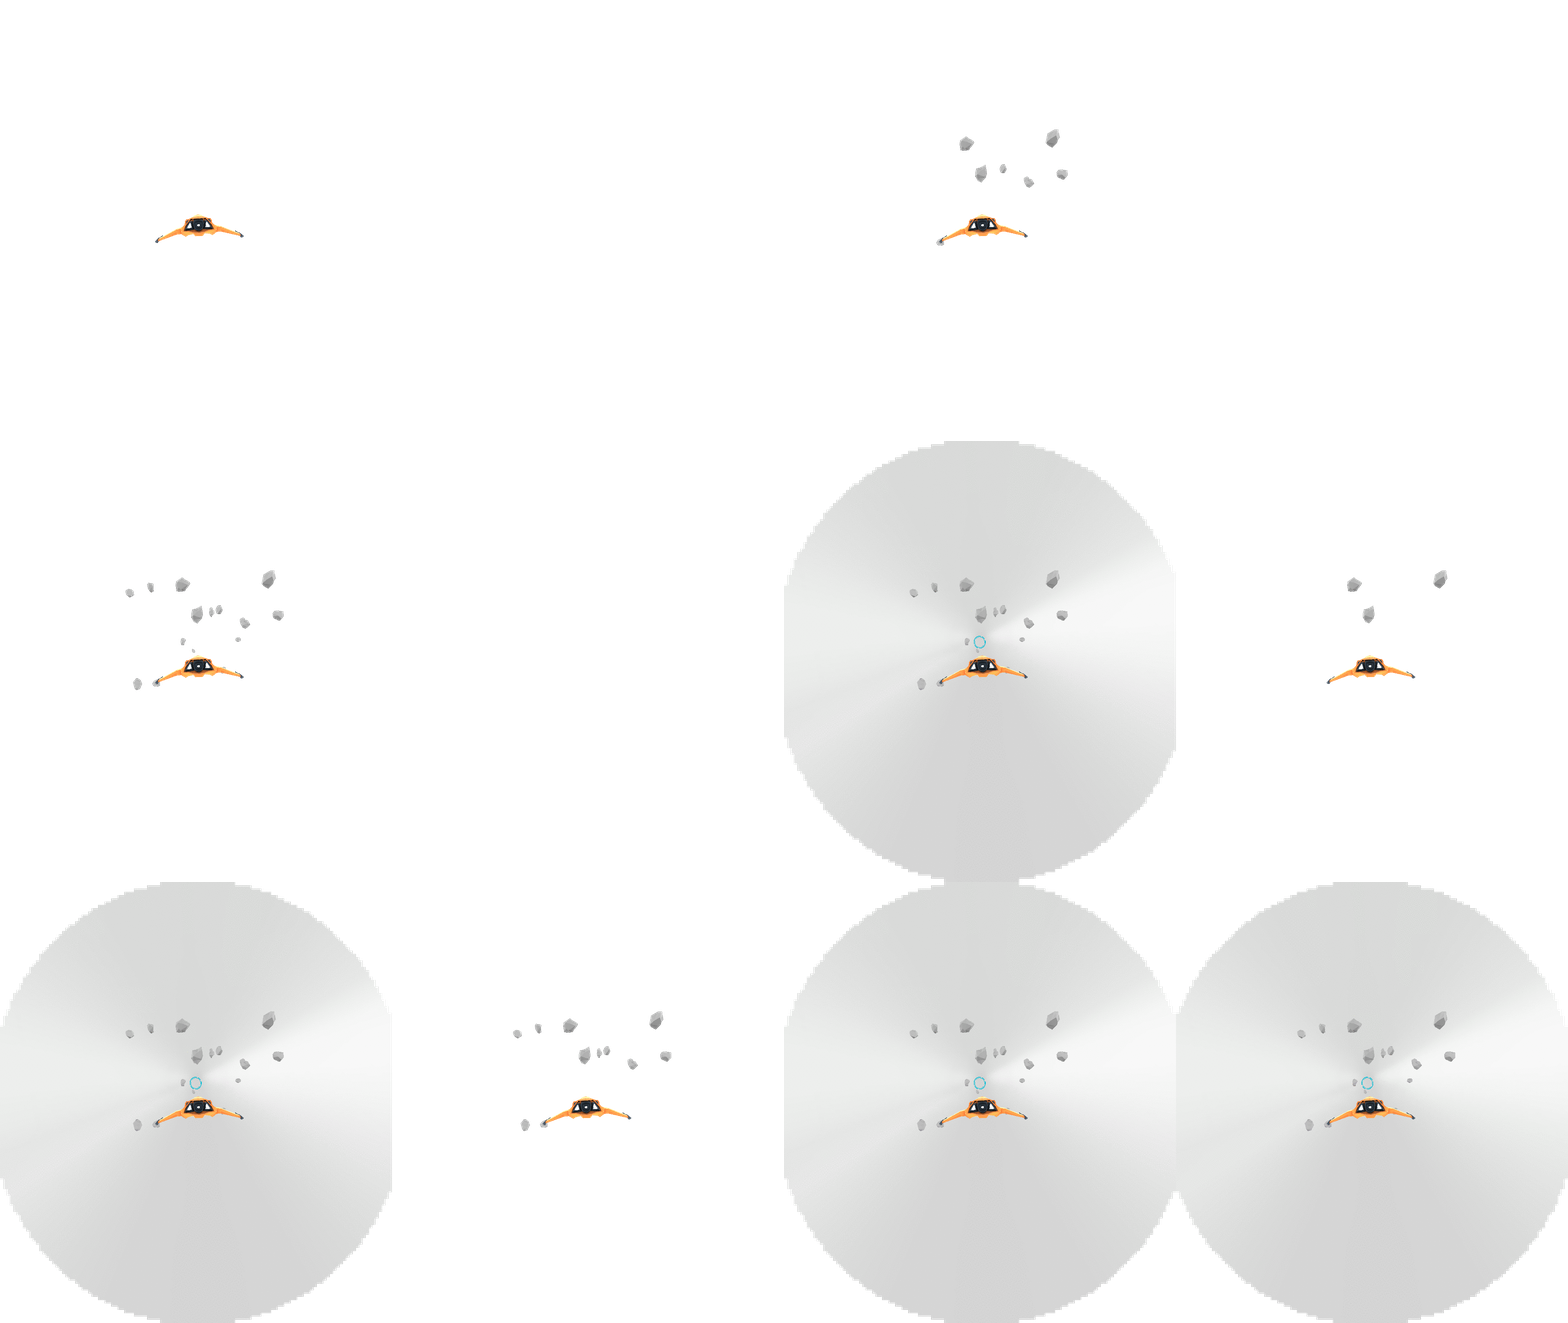
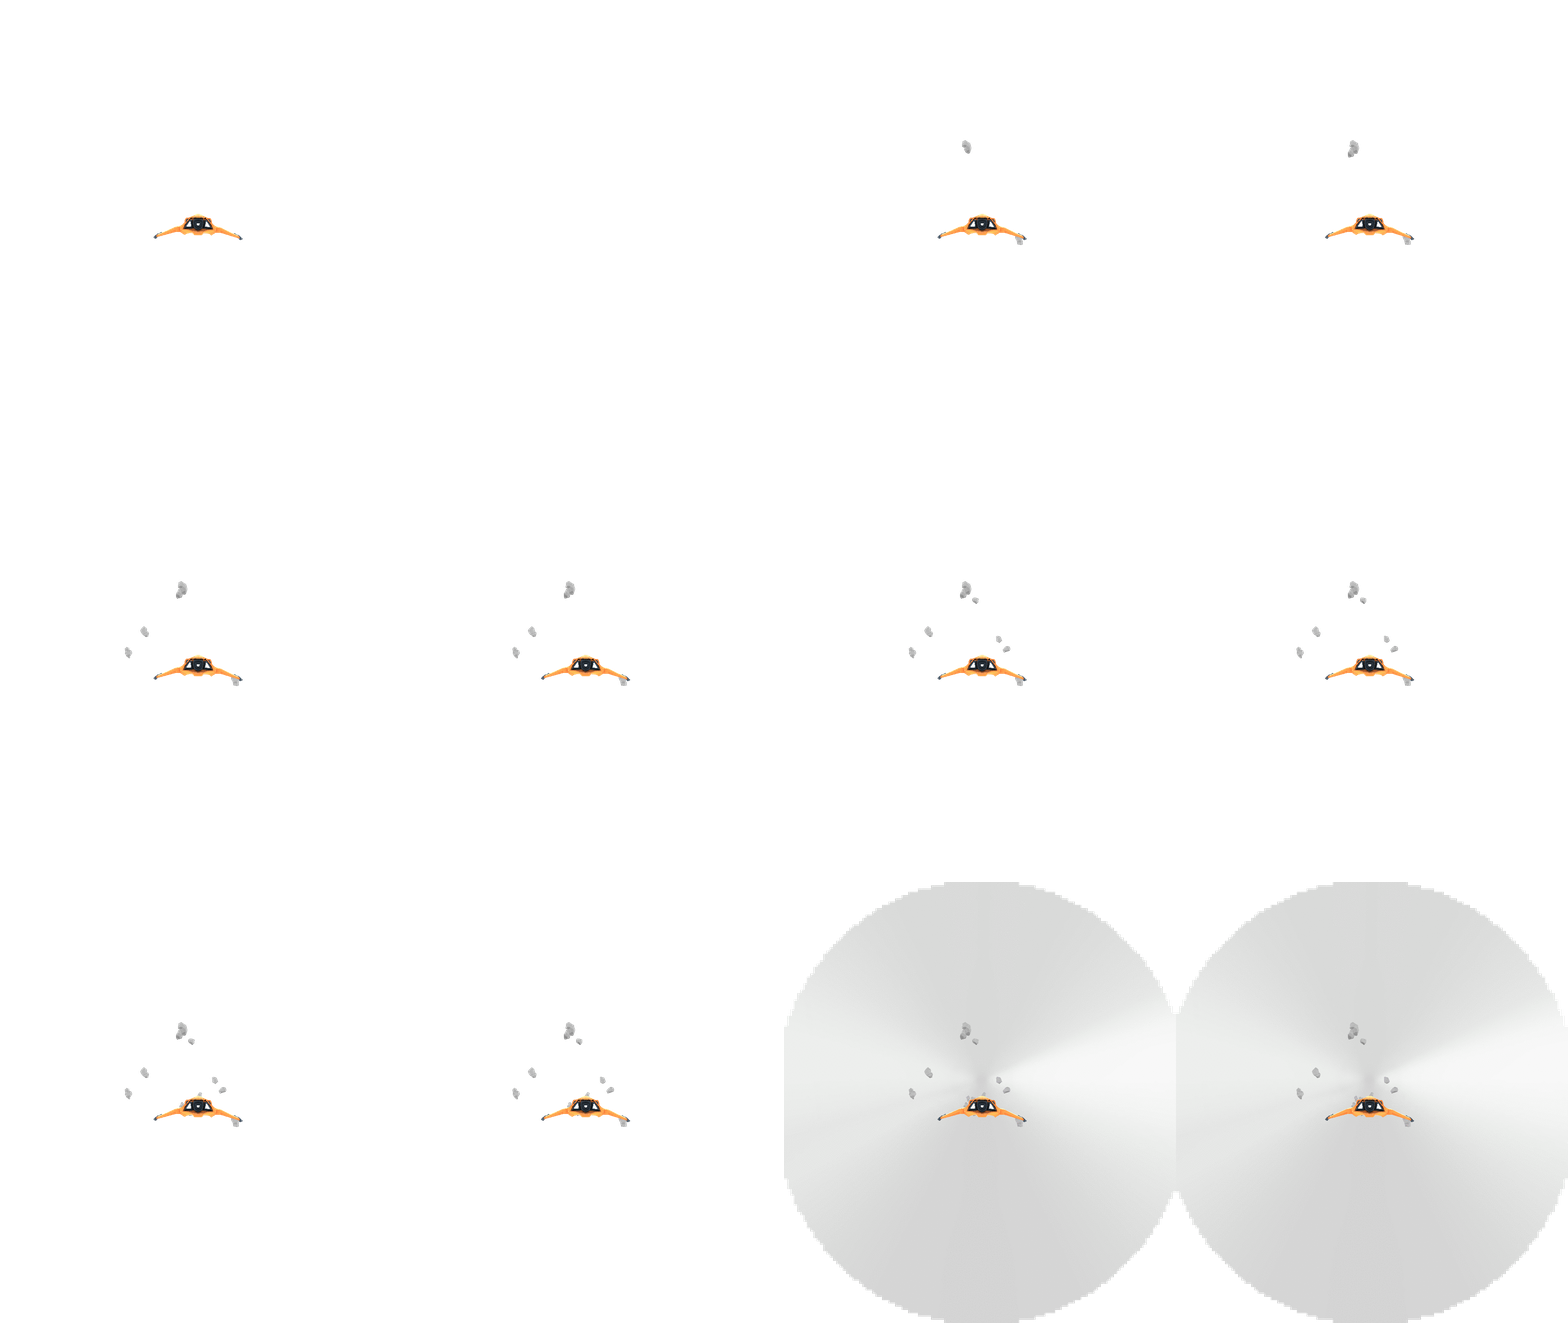
The comparison images below show the difference between normal VR rendering and Single-Pass Stereo rendering.
Normal VR rendering

Single-Pass Stereo VR rendering

To enable this feature, open PlayerSettings (menu: Edit > Project Settings > Player). In PlayerSettings, navigate to Other Settings, ensure the Virtual Reality Supported checkbox is ticked, then tick the Single-Pass Stereo Rendering checkbox underneath it.

Unity’s built-in rendering features and Standard Assets are all compatible with this feature. However, custom-built Shaders and Shaders downloaded from the Asset Store may need to be modified (for example, screen space coordinates might need to be scaled and offset to access the appropriate half of the packed Render Texture).
Authoring and modifying Shaders to support Single-Pass Stereo rendering
Existing helper functions in UnityCG.cginc support Single-Pass Stereo rendering transparently.
UnityCG.cginc also contains the following helper functions to assist with authoring stereoscopic Shaders:
| Property | Function |
|---|---|
| UnityStereoScreenSpaceUVAdjust(uv, sb) |
Parameters: uv - UV texture coordinates. Either a float2 for a standard UV or a float4 for a packed pair of two UVs. sb - A float4 containing a 2D scale and 2D bias to be applied to the UV, with scale in xy and bias in zw. Description: Returns the result of applying the scale and bias in sb to the texture coordinates in uv. This only occurs when UNITY_SINGLE_PASS_STEREO is defined, otherwise the texture coordinates are returned unmodified. This is often used to apply a per-eye scale and bias only when in Single-Pass Stereo rendering mode. |
| UnityStereoTransformScreenSpaceTex(uv) |
Parameters: uv - UV texture coordinates. Either a float2 for a standard UV or a float4 for a packed pair of two UVs. Description: Returns the result of applying the current eye’s scale and bias to the texture coordinates in uv. This only occurs when UNITY_SINGLE_PASS_STEREO is defined, otherwise the texture coordinates are returned unaltered. |
| UnityStereoClamp(uv, sb) |
Parameters: uv - UV texture coordinates. Either a float2 for a standard UV or a float4 for a packed pair of two UVs. sb - A float4 containing a 2D scale and 2D bias to be applied to the UV, with scale in xy and bias in zw. Description: Returns the uv clamped in the x value by the width and bias provided by sb. This only occurs when UNITY_SINGLE_PASS_STEREO is defined, otherwise the texture coordinates are returned unmodified. This is often used to apply a per-eye clamping in Single-Pass Stereo rendering mode to avoid color bleeding between eyes. |
Additionally, the constant unity_StereoEyeIndex is exposed in Shaders, so eye-dependent calculations can be performed. The value of unity_StereoEyeIndex is 0 for rendering of the left eye, and 1 for rendering of the right eye.
Here’s an example from UnityCG.cginc, demonstrating how unity_StereoEyeIndex is used to modify screen space coordinates:
float2 TransformStereoScreenSpaceTex(float2 uv, float w)
{
    float4 scaleOffset = unity_StereoScaleOffset[unity_StereoEyeIndex];
    return uv.xy * scaleOffset.xy + scaleOffset.zw * w;
}
You should not have to modify Shaders in most cases. However, there are situations in which you need to sample a monoscopic Texture as a source for Single-Pass Stereo rendering. For example, if you are creating a full-screen film grain or noise effect, the source image should be the same for both eyes, rather than packed into a stereoscopic image. In such situations, use ComputeNonStereoScreenPos() in place of ComputeScreenPos() to calculate locations from the full source Texture.
Post-processing Effects
When using Single-Pass Stereo rendering, post-processing effects require some extra attention. Each post-processing effect runs once on the packed Render Texture (which contains both the left-eye and right-eye images), but all draw commands that run during the post-processing are applied twice: once to the left-eye half of the destination Render Texture, and once to the right-eye half.
Post-processing effects do not automatically detect Single-Pass Stereo rendering, so you need to adjust any reads of packed Stereo Render Textures so that they only read from the correct side for the eye being rendered. There are two ways to do this depending on how your post-processing effect is being rendered:
Graphics.Blit()
Mesh-based drawing
See below for more information on these methods.
Without these adjustments, each draw command reads the whole of the source Render Texture (containing both the left- and right-eye views), and outputs the entire image pair to both the left-eye and right-eye side of the output Render Texture, resulting in incorrect duplication of the source image in each eye.
The reason this happens is that each post-processing effect is either drawn using Graphics.Blit or by drawing a full-screen polygon with a Texture map. Both methods reference the entire output of the previous post-processing effect in the chain. When they are used to refer to an area in a packed Stereo Render Texture, they reference the whole packed Render Texture instead of just the relevant half of it.
Graphics.Blit()
Post-processing effects rendered with Blit() do not automatically reference the correct part of packed stereo Render Textures. By default, they refer to the entire Texture. This incorrectly stretches the post-processing effect across both eyes.
For Single-Pass Stereo rendering using Blit(), Texture samplers in Shaders have an additional automatically-calculated variable used to refer to the correct half of a packed stereo Render Texture, depending on the eye being drawn. The variable contains scale and offset values that allow you to transform your target coordinates to the correct location.
To access this variable, declare a half4 in your Shader with the same name as your sampler, and add the suffix _ST. See below for a code example of this. To adjust UV coordinates, pass in your _ST variable to scaleAndOffset and use UnityStereoScreenSpaceUVAdjust(uv, scaleAndOffset). This function compiles to nothing in non-Single-Pass Stereo builds, meaning that shaders modified to support this mode are still compatible with non-Single-Pass Stereo builds.
The following example code demonstrates fragment shader code that has been changed to support Single-Pass Stereo rendering.
Without stereo rendering:
uniform sampler2D _MainTex;

fixed4 frag (v2f_img i) : SV_Target
{
    fixed4 myTex = tex2D(_MainTex, i.uv);

    ...
}
With stereo rendering:
uniform sampler2D _MainTex;

half4 _MainTex_ST;

fixed4 frag (v2f_img i) : SV_Target
{
    fixed4 myTex = tex2D(_MainTex, UnityStereoScreenSpaceUVAdjust(i.uv, _MainTex_ST));

    ...
}
Mesh-based drawing
Post-processing effects rendered using Meshes (for example, by drawing a quadrilateral in immediate mode using the low level graphics API) also need to adjust the UV coordinates on the target Texture based on which eye is being rendered. To adjust your coordinates in these circumstances, use UnityStereoTransformScreenSpaceTex(uv). This function adjusts correctly for packed stereo Render Textures in Single-Pass Stereo rendering mode, and automatically compiles for non-packed Render Textures if Single-Pass Stereo rendering mode is disabled. However, if you intend to use a Shader both for packed stereo Render Textures and non-packed Render Textures in the same mode, you need to have two separate Shaders.
Screen space effects
Screen space effects are visual effects that are drawn over a pre-rendered image. Examples of screen space effects include screen-space ambient occlusion, depth of field, and bloom.
For example, imagine a screen space effect that requires an image to be drawn over the screen (perhaps you are drawing some kind of dirt spattered on the screen). Instead of applying the effect over the entire output display, which would stretch the dirt image across both eyes, you need to apply it twice: once for each eye. In cases like this, you need to convert from using texture coordinates that reference the whole packed Render Texture, to coordinates that reference each eye.
The following code examples show a Surface Shader that repeats an input Texture (called _Detail) 8 x 6 times across the output image. In the second example, the destination coordinates are transformed in Single-Pass Stereo mode to refer to the part of the output Texture that represents the eye currently being rendered.
Example 1: Detail Texture with no Single-Pass Stereo support
void surf(Input IN, inout SurfaceOutput o) {

    o.Albedo = tex2D(_MainTex, IN.uv_MainTex).rgb;

    float2 screenUV = IN.screenPos.xy / IN.screenPos.w;

    screenUV *= float2(8,6);

    o.Albedo *= tex2D(_Detail, screenUV).rgb * 2;

}
Example 2: Detail Texture with Single-Pass Stereo support
void surf(Input IN, inout SurfaceOutput o) {

    o.Albedo = tex2D(_MainTex, IN.uv_MainTex).rgb;

    float2 screenUV = IN.screenPos.xy / IN.screenPos.w;

    #if UNITY_SINGLE_PASS_STEREO

    // If Single-Pass Stereo mode is active, transform the

    // coordinates to get the correct output UV for the current eye.

    float4 scaleOffset = unity_StereoScaleOffset[unity_StereoEyeIndex];

    screenUV = (screenUV - scaleOffset.zw) / scaleOffset.xy;

    #endif

    screenUV *= float2(8,6);

    o.Albedo *= tex2D(_Detail, screenUV).rgb * 2;
}