Sprite Editor: Edit Outline
Use the Sprite Editor’s Edit Outline option to edit the generated Mesh for a Sprite, effectively editing its outline.
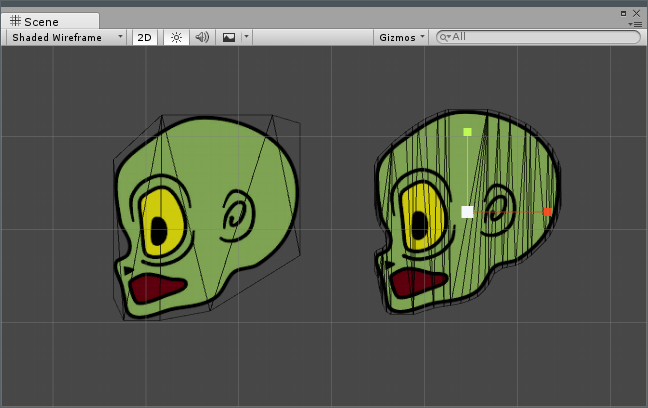
Transparent areas in a Sprite can negatively affect your project’s performance. This feature is useful for fine-tuning the bounds of a Sprite, ensuring there are fewer transparent areas in the shape.
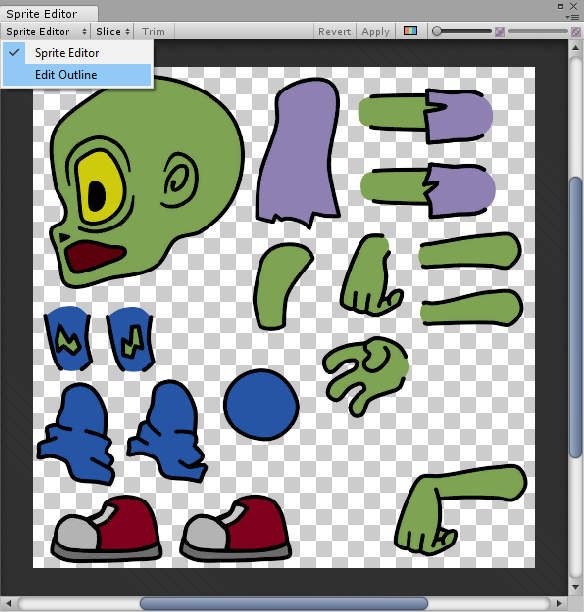
To access this option, select the Sprite and open the Sprite Editor (click Sprite Editor in the Inspector window). Click the Sprite Editor drop-down in the top left, and select Edit Outline.
With Edit Outline selected, click a Sprite. The Sprite Editor displays the outline and control points of the Sprite. The outline is indicated by a white line. The control points are areas you can use to move and manipulate the outline. Control points are indicated by small squares. Click and drag a white square outline control point to change its position.
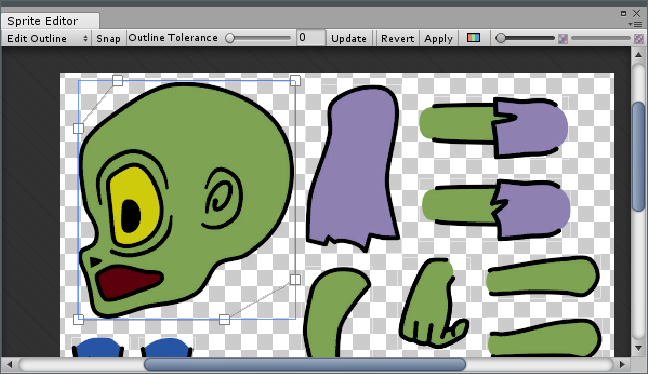
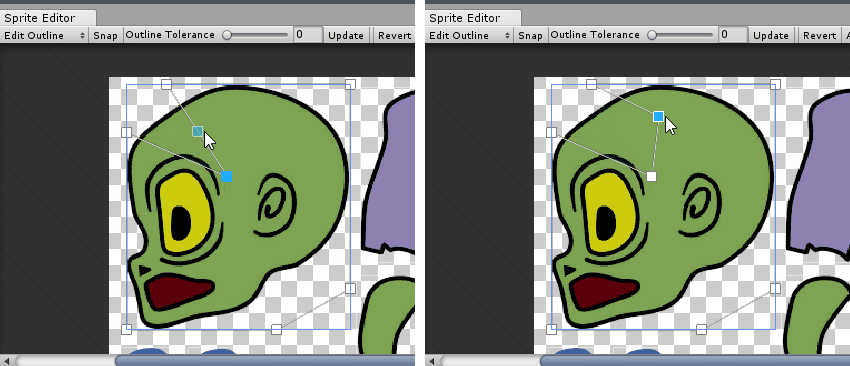
When you hover the mouse over a white square outline control point, a blue square appears on the outline. Drag this to reposition the control point and the blue square becomes a new white square outline control point, as shown below
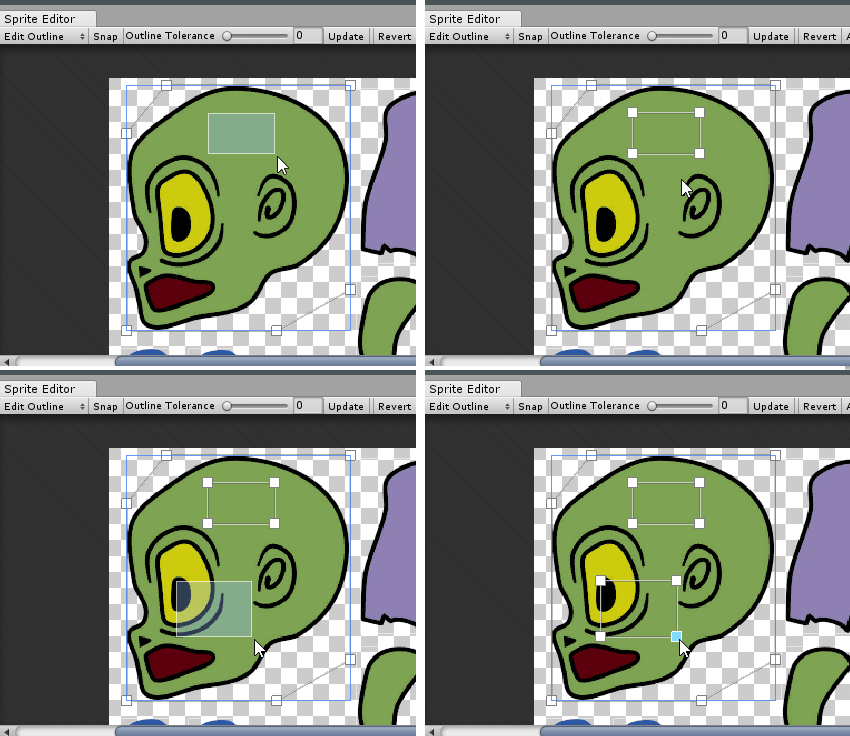
To create new outlines, drag in an empty space within the Sprite. This creates a new rectangular outline with four control points. Do this multiple times to create multiple outlines on one Sprite (for example, a donut Sprite which has gaps inside the outline).
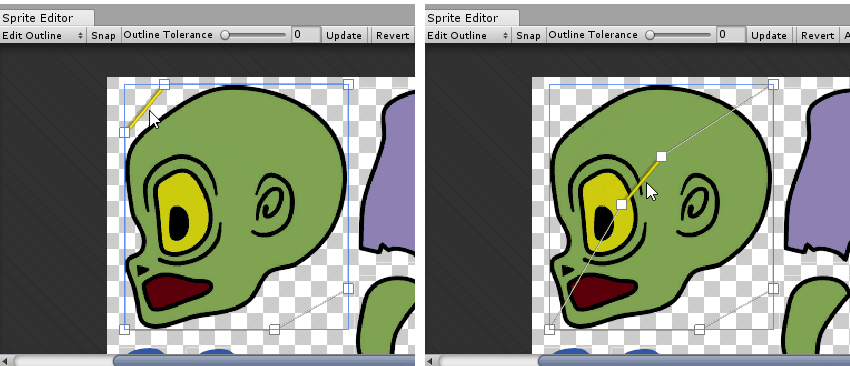
To move the outline instead of the control points, hold Ctrl while you click and drag the outline.
Outline Tolerance
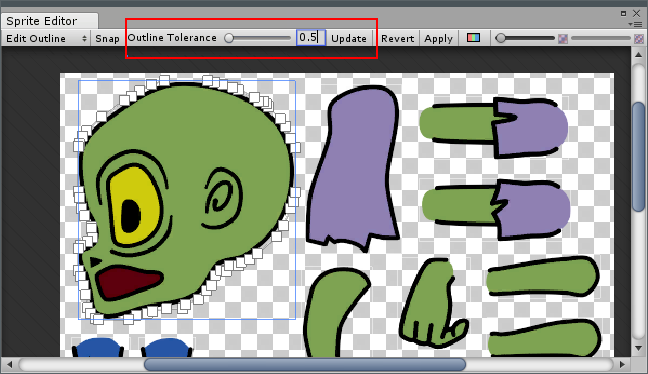
Use the Outline Tolerance slider to increase and decrease the number of outline control points available, between 0 (the minimum number of control points) and 1 (the maximum number of control points). A higher Outline Tolerance creates more outline control points, while a lower Outline Tolerance creates a tighter Mesh (that is, a Mesh with a smaller border of transparent pixels between the Sprite and the Mesh edges). Click Update to apply the change.
